Introduction
Are you using Zimbra to store your tasks or maybe just make notes online but want these to be available when you are offline as well? This guide describes how to set this up by using Mozilla Thunderbird on your computer. This guide was composed on Ubuntu Linux but will work on any operating system like Windows or MacOS.
Note: If you are using text formatting (bold, italic, fonts etc.) – it’s important to understand that Thunderbird does not understand this format and as soon as you change a task from Thunderbird – while your text is synchronized – this formatting will be lost. You can still view your tasks and notes offline without losing any formatting.

The steps involved to accomplish this are:
- Install Thunderbird (not part of this guide)
- Set up email sync or skip
- Install the Lightning (Calendar) add-on
- Add one or more new network calendar of type caldav (https://zimbra.libertar.se/dav/test@libertar.se/Tasks)
If you are tech-savvy, these steps are probably enough to get you through the process, otherwise just follow the step by step guide below.
Installing Thunderbird is not part of this guide since this will depend on your operating system. On Ubuntu Linux it’s available through the Ubuntu Software Center, on non-linux platforms you probably have to download and install.
Install Lightning plug-in
Thunderbird does actually not come with support for Tasks so you need to install the add-on Lightning which is basically a calendar with support for tasks and notes. You will find the add-ons in the settings as shown in these screen shots:

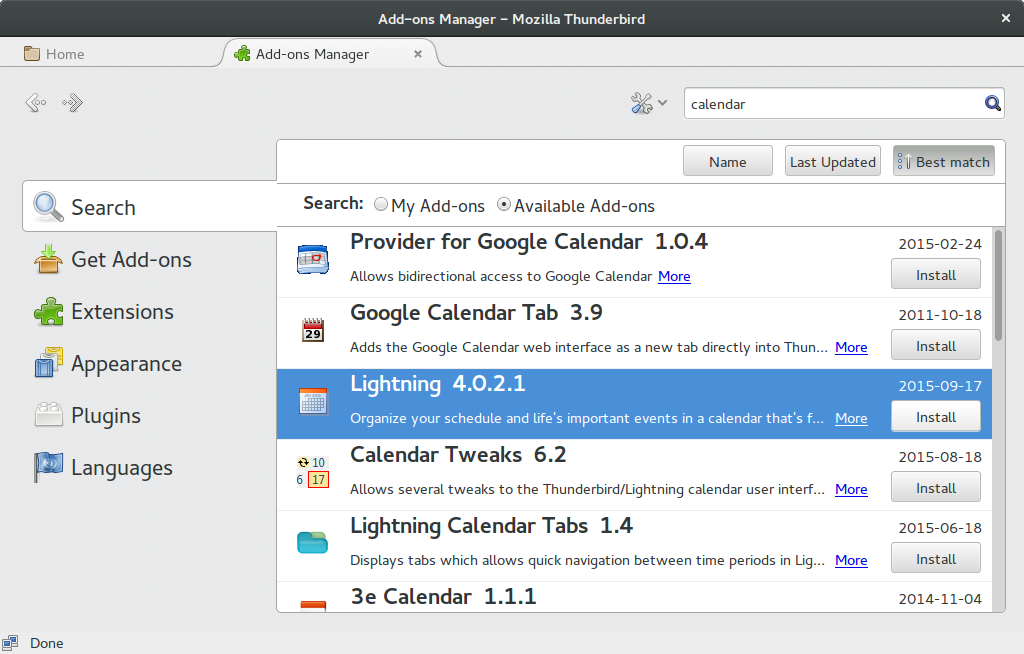
After installing lightning you need to restart Thunderbird.
Synchronizing tasks
As you will notice in this guide, many steps refer to calendar instead of task lists or notes. This is because the tasks are technically part of calendar synchronization – and since this works very well – this is the standard way of synchronizing tasks as well.
Follow these steps to set up your first list of tasks:
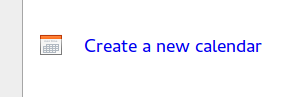
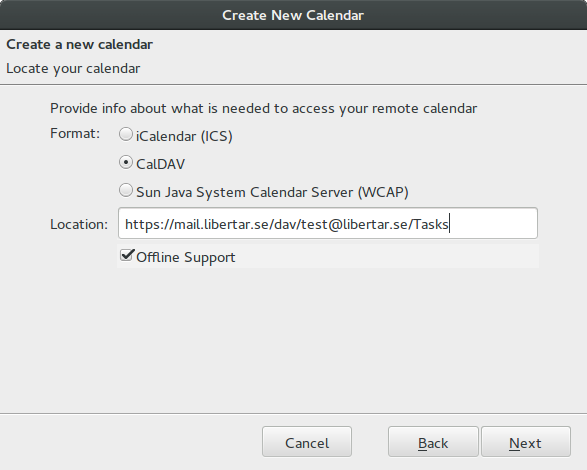
Choose network calendar
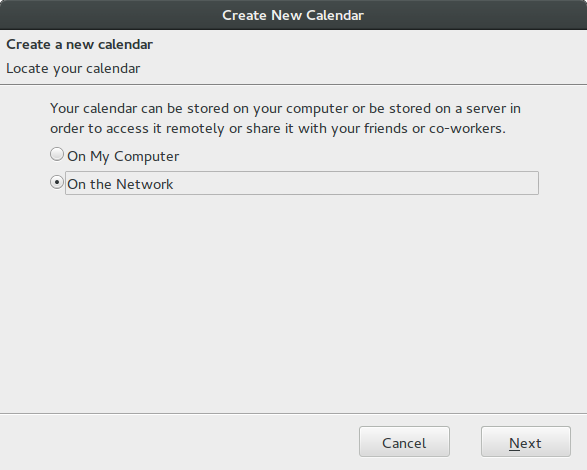
Select the caldav option and create the location link in this format: https://<zimbra-webmail-server>/dav/<zimbra-email-address>/<task-list-name>
You need to replace the information in the “<>” with the proper values for your zimbra server. The “task-list-name” is the name you see in zimbra, Tasks and My Notes in this example.
On the next step you can give the task list a name, like Zimbra Tasks or whatever you want.
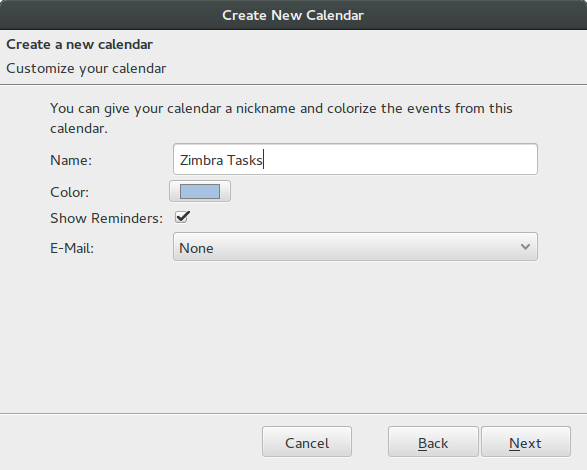
Then just click next and then Finish. You will be asked for your email address and password during this step. You are now ready to set up another task list or go ahead and check or update your tasks.
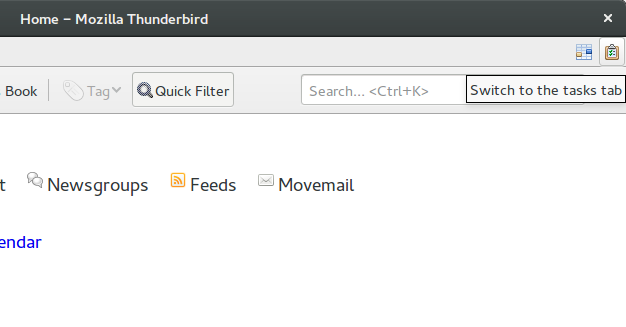
You can check out your tasks/notes by going to the tasks view in the upper-right corner:
Reviewing and creating tasks
After adding both lists in this example my tasks section looks like this:
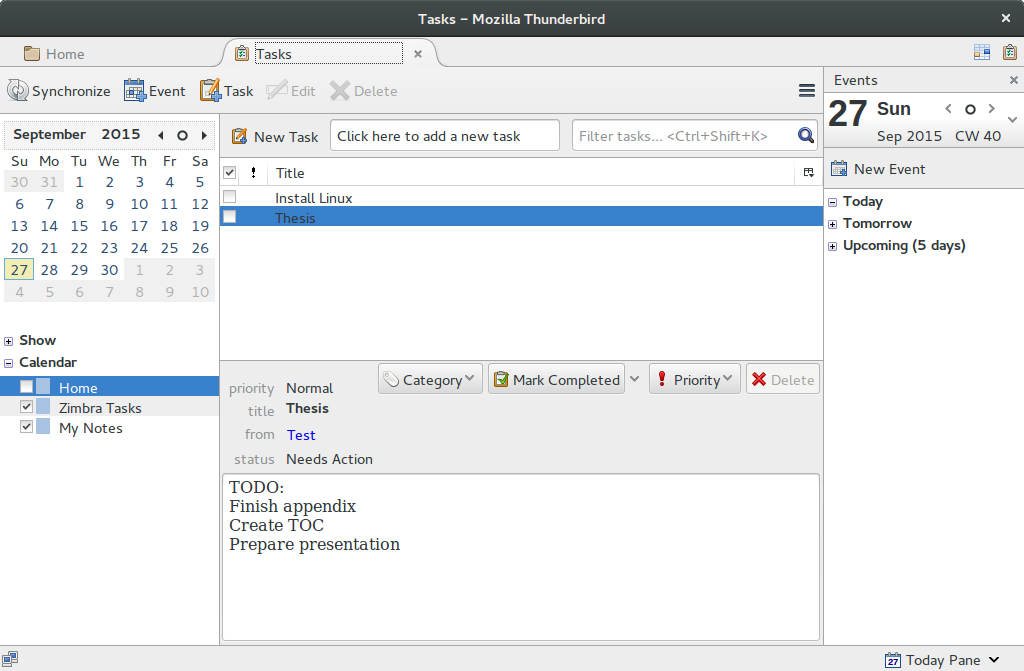
Disabling the Home calendar
At this point you may want to disable Thunderbirds default task list “Home” if you are not using it since this will otherwise be the default “calendar” when new tasks are created – and tasks added to Home will not be synced.
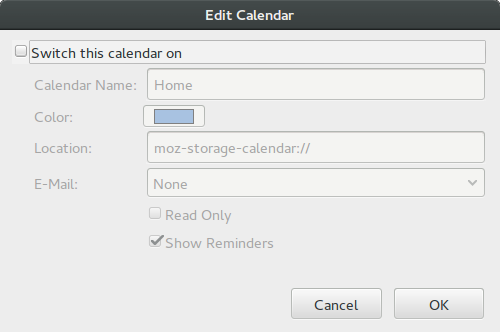
To do this, right click “Home” in the section to the bottom left, choose properties and then untick the “Switch this calendar on”
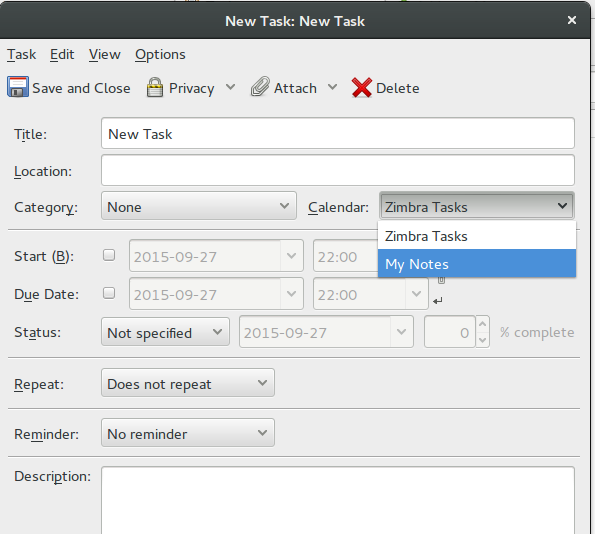
Creating new tasks
Creating new tasks is quite straight-forward. You click new task and then enter the details for the task. There is one very important selection though – make sure you select the proper “calendar” to add it to so that it will be synced back to zimbra properly.